
Getting started
Your first territory model, in about ten minutes. This page assumes Territory Mapper is already installed and configured. If it is not, or if you are not sure, start at Installing Territory Mapper — several of the setup steps cannot be shipped with the package and have to be done by hand in your org.
Before you start: one thing that must already be true
Salesforce geocoding clean rules must be enabled and running in this org.
Territory Mapper assigns a record to a territory by testing the record's latitude and longitude against territory boundaries. Salesforce populates those coordinates; Territory Mapper never calculates them. If clean rules are off, your records have no coordinates, nothing is assigned, and the map still looks perfectly healthy.
This is the single most common cause of "I set everything up and nothing happened". Check it now — it takes two minutes.
1. Open Territory Mapper
App Launcher → Territory Mapper. The app opens on the map, with the territory tree on the left.
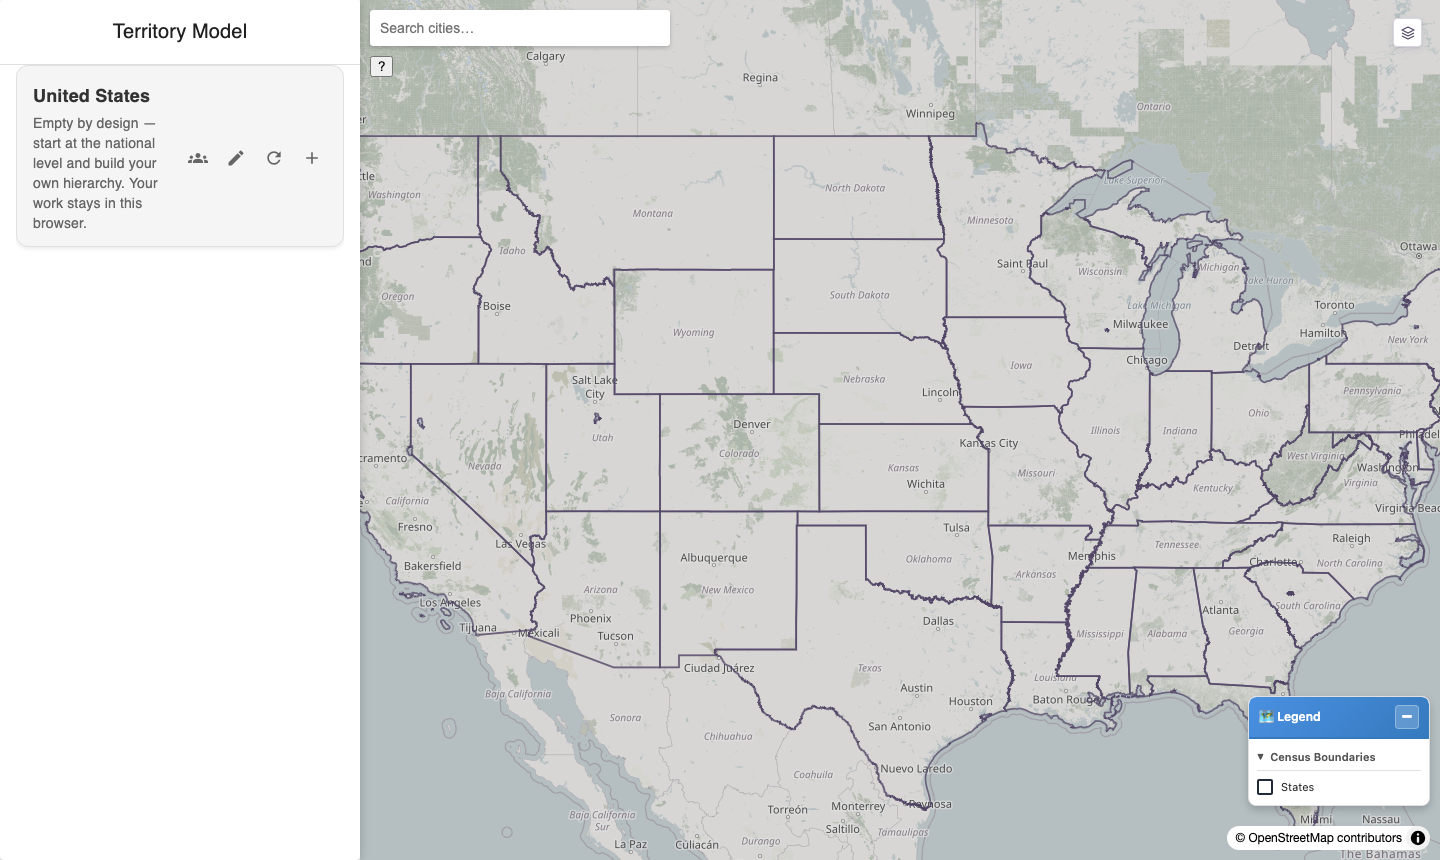
A new model, before anything is in it. The tree is on the left, the map on the right, and the four buttons on the model card are everything you can do to the model itself.
If you land on an empty grey panel instead of a map, go to Troubleshooting.
2. Name the model
A territory model is a named container for one complete set of territories — "Sales", "Service", "FY27 Plan". An org can hold several at once, and two models may cover the same ground without conflicting: they never see each other.
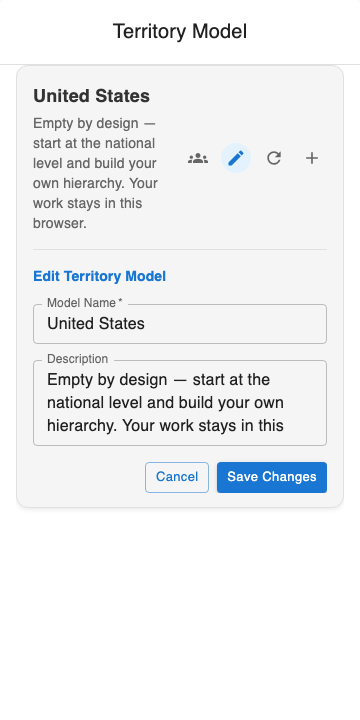
Renaming the model. The name is the one a Salesforce administrator sees on the Territory2Model record, so it is worth setting before anyone else opens it.
Press the pencil on the model card, give it a name and a description, and save.
3. Add your first territory
Press + on the model card.
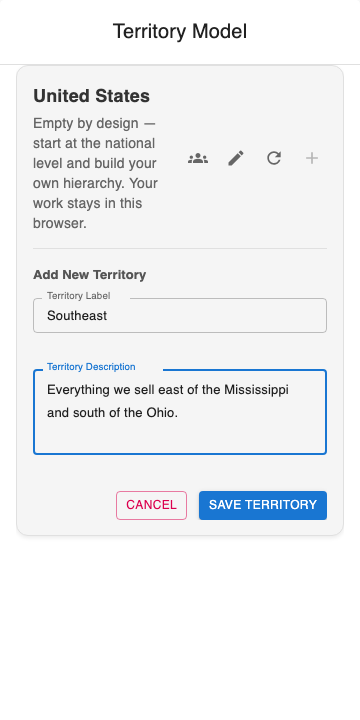
Adding the first territory. Only the label is required; the description is carried through to Salesforce and is worth writing while you still remember what you meant.
Name it and press SAVE TERRITORY. Names are yours — there is no fixed set of tiers and no required naming.
The territory now exists but has no boundary. It draws nothing on the map until you give it one.
4. Draw its boundary
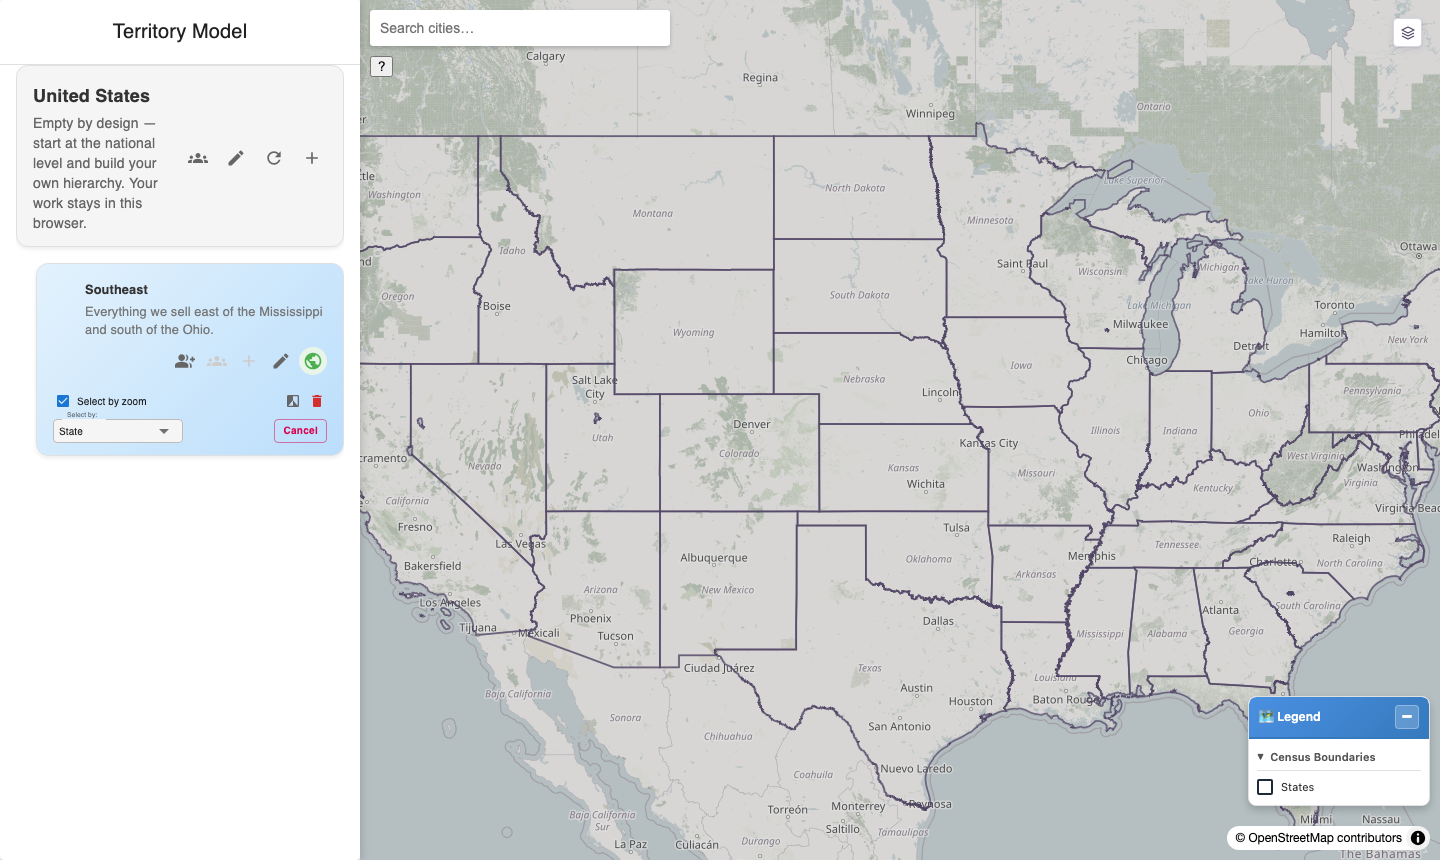
Map management mode. The card turns blue, the globe turns green, and the map now answers clicks by selecting census areas instead of showing their details.
Press the green globe on the territory's card. Then click areas on the map. Each click adds one census area; clicking a selected area again removes it. Shift-drag selects a rectangle.
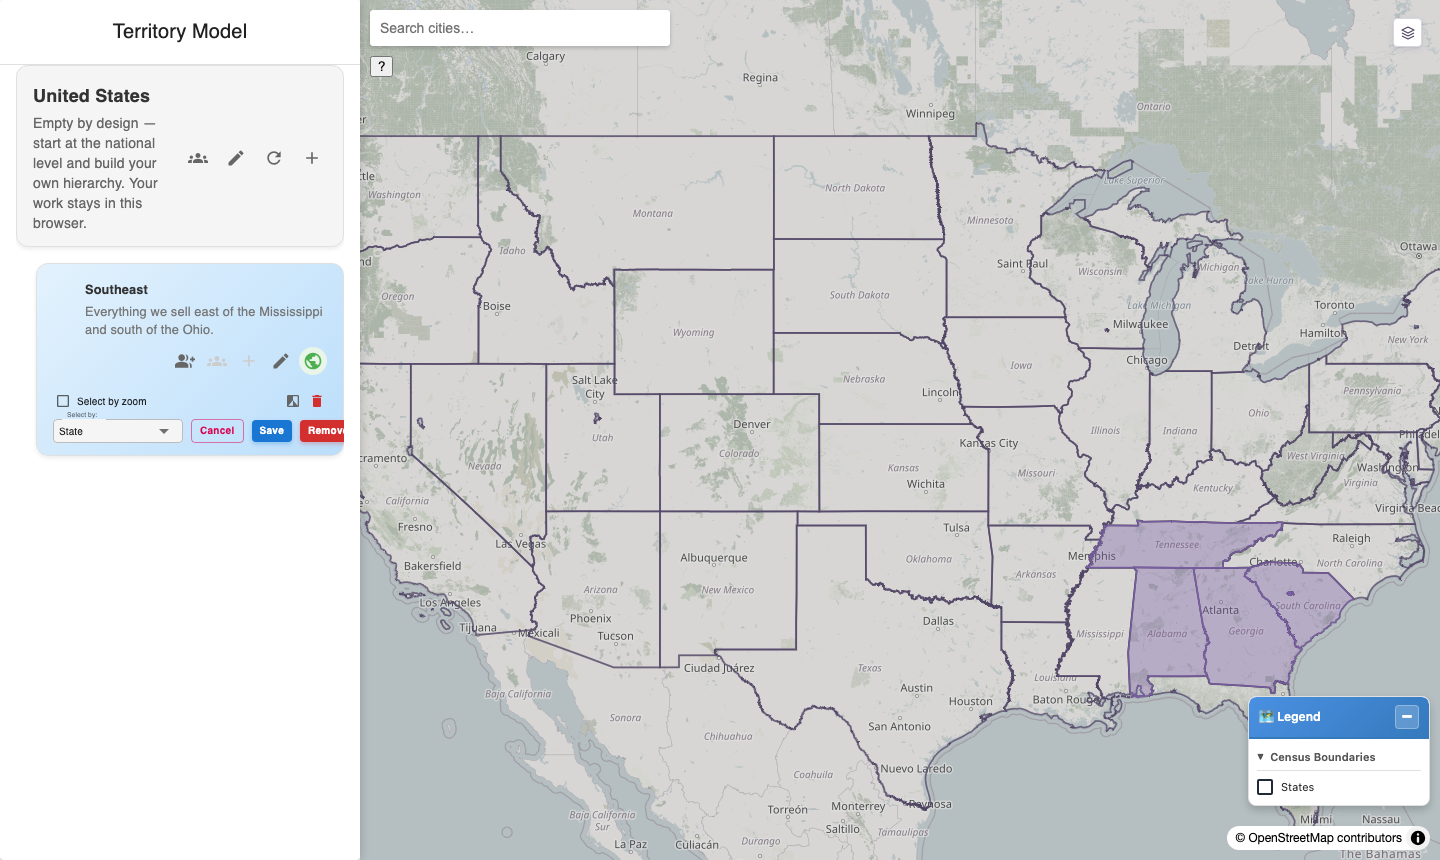
Three states selected by clicking. Nothing has been saved yet — Save and Remove appear on the card as soon as a selection exists.
The zoom decides how fine your selection is, unless you say otherwise on the card. Zoomed out you are picking states; zoomed in you are picking counties, then tracts, then block groups. That is deliberate, and it is explained in The two hierarchies.
When the selection looks right, press Save.
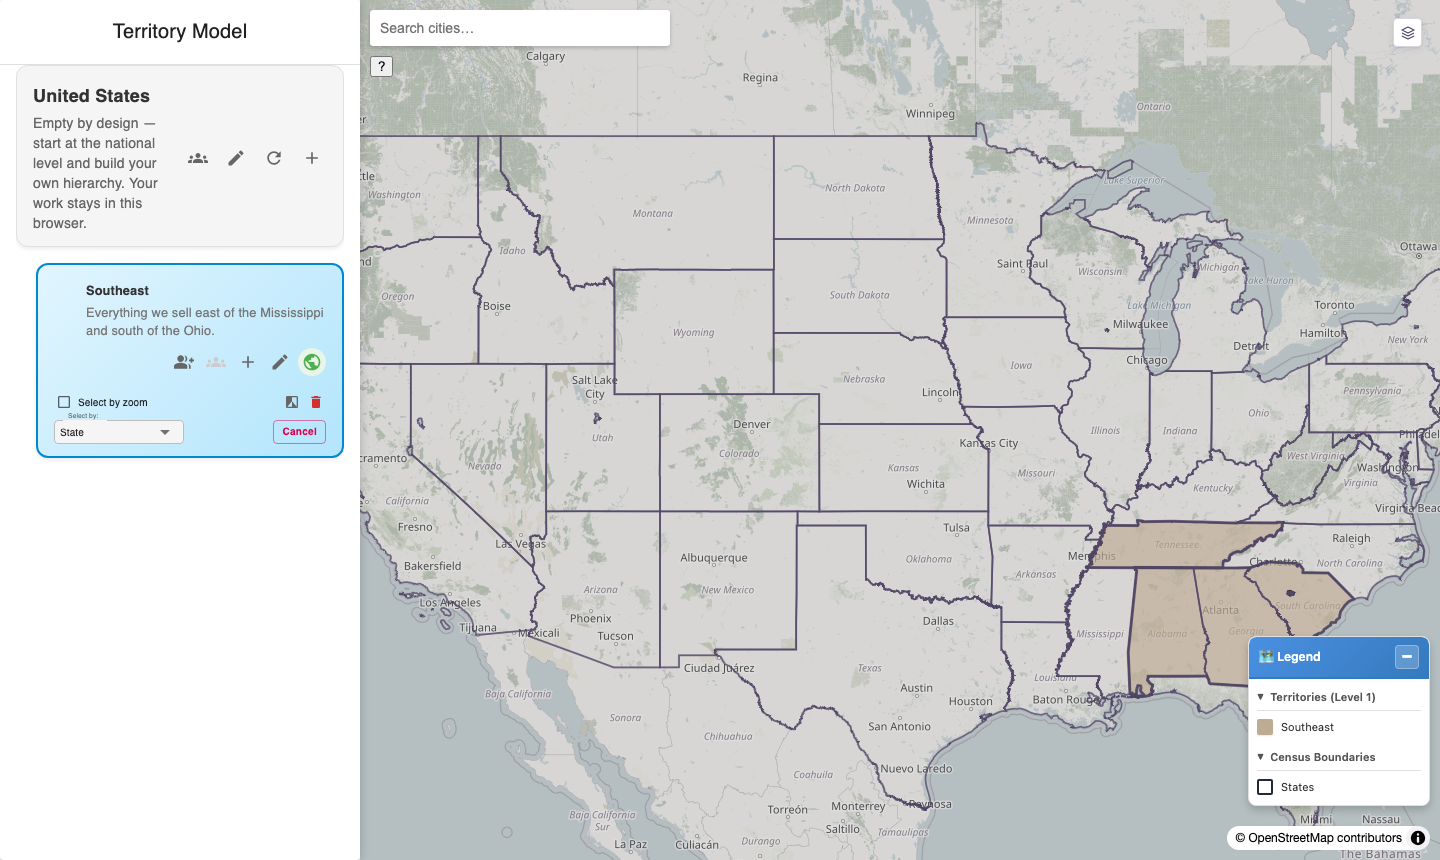
The saved boundary, drawn in the territory's own colour.
Saving takes effect immediately. There is no draft, no publish step and no preview. The boundary is live the moment you save it.
5. Add a child territory
🔴 Do this after step 4, not before. A territory's + is greyed out until that territory has a boundary — a child is drawn from its parent's own areas, so until the parent has some there is nothing for a child to be made of. The tooltip says so: "You must map this territory first before adding sub-territories."
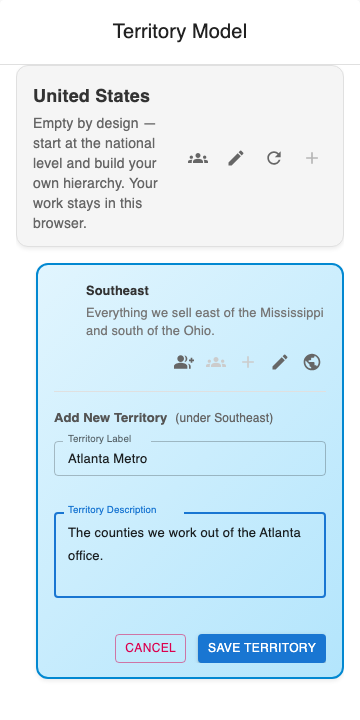
Adding a child. The form says who the parent is — "(under Southeast)" — because + on the model card and + on a territory card do different things.
Press + on the territory's card — not the model's — and check the "(under …)" line before you type. Draw its boundary the same way.
You now have a two-tier model. Repeat as deep as you need; there is no fixed limit.
6. Assign someone to it
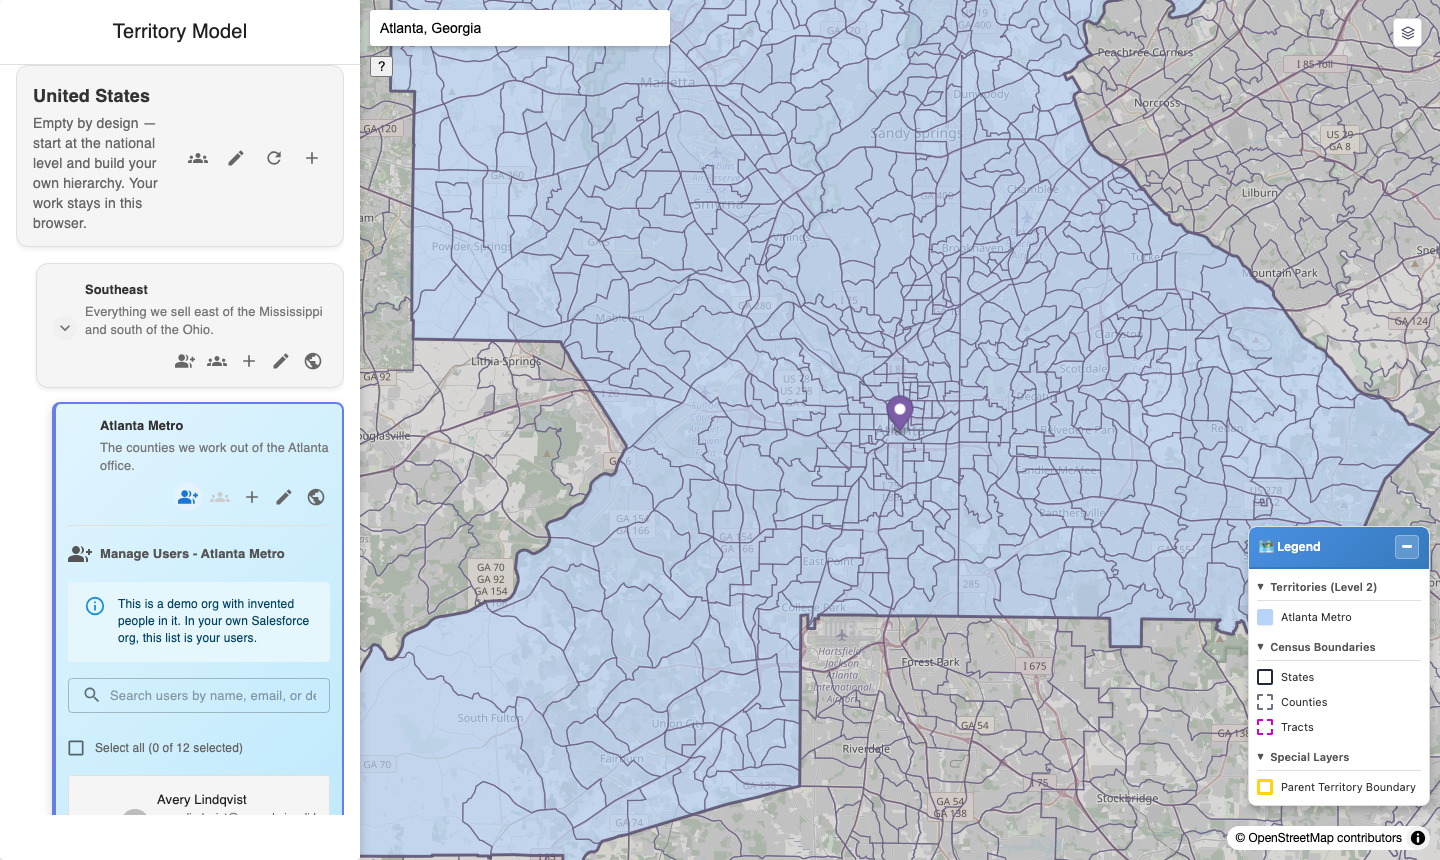
Assigning people. This list is your Salesforce users.
Press the person + button on a territory card, tick the people who work it, and give each one a role. A role is what someone does in that territory — Manager, Sales, Operations. See People, roles and assignment.
⚠️ If the role list is empty, that is a setup step, not a fault. The package ships no roles — see Defining territory roles.
7. Check what got assigned
Records assign themselves. When Salesforce geocodes a record, Territory Mapper tests its point against your boundaries and writes the assignment.
Two places to look:
- The record — its territory associations.
- Assignment Exceptions — every record that could not be assigned, and why. It is a work queue, not an error log; see The exception queue.
What to read next
| If you want to | Read |
|---|---|
| Understand why the map behaves the way it does as you zoom | The two hierarchies — the one page not to skip |
| Know what every control on screen does | The map window |
| Build a real model rather than a first one | Building a territory model |
| Get better at drawing boundaries | Drawing and editing boundaries |
| Find out why records are not being assigned | The exception queue |
Three things Territory Mapper does not do
Stated here because each one is a reasonable thing to assume.
- Editing a boundary does not re-assign anything. Records assigned under the old boundary stay where they are until they are re-processed. See The exception queue.
- There is no draft or published state for a boundary. A saved boundary is live.
- If two territories claim the same area, the second one wins and the first shrinks. Nothing is rejected and nobody is warned. See Drawing and editing boundaries.
Last verified: 2026-10-13 · Owner: MapKraken Labs LLC
Something on this page wrong, or a setup step missing? That is a documentation defect and we want it — tell us and this is the page that gets fixed.